Projects are used to organise scenes and manage settings and assets; a scene cannot exist without a project. To get started with Anima you will need to either load an existing project or create a new one. It’s also possible to import and export project folders to package them up so that you can easily share them with friends and colleagues, as well as merging resources and scenes from other projects.
Procedures
Loading an existing project
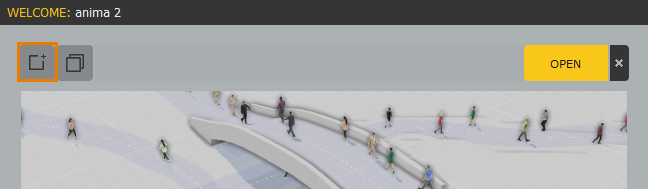
Your most recent projects are show on the welcome screen for quick access. To open a project from the welcome screen:
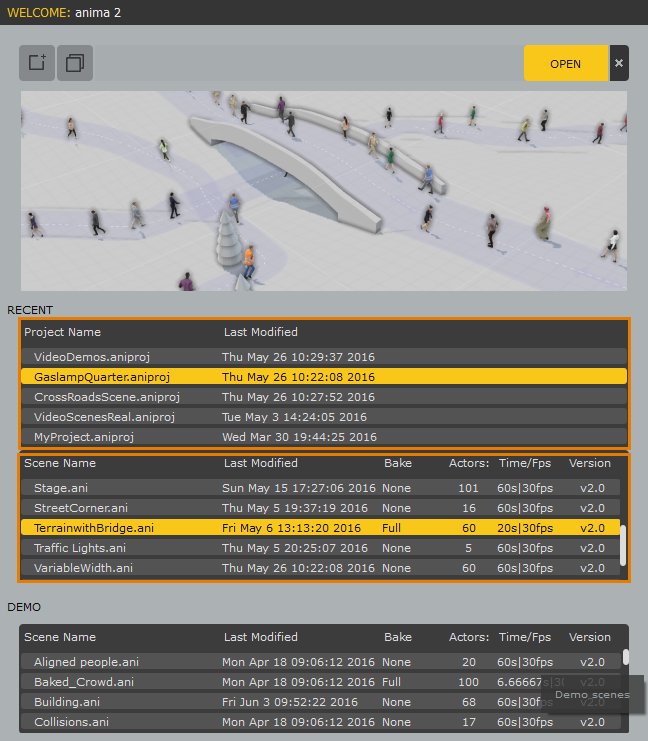
- Select the Project from the Recent Projects list.
- Select a Scene from the Project Scenes list.
- Click Open.
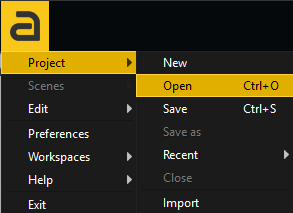
To load a project from the Main Menu:
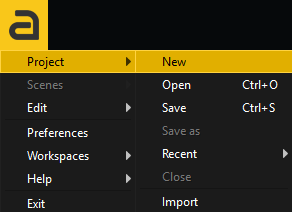
- Click on the Main Menu
 and go to Project > Open, Project > Recent or press Ctrl+O.
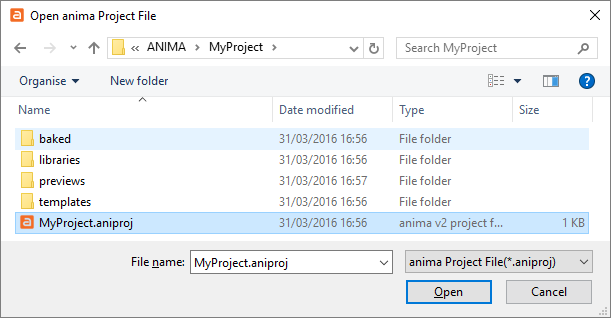
- From the Open anima Project File window, select and .aniproj file and click Open.
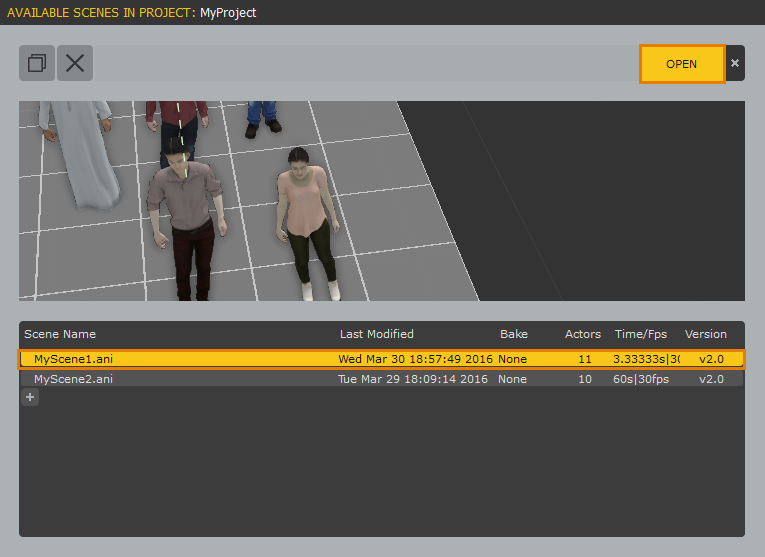
- The Available Scenes in Project window will open. Select a scene and click Open.
Creating a new Project
To create a new project from the Welcome Screen:
- Click the Create new Project button.
- The New Project window will open, in the first field enter the name of your project.
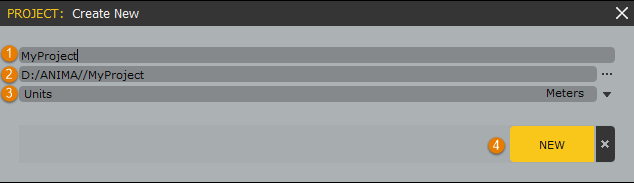
- Click the … button to set a save location for your project.
- Choose the Scene Units to use for this project. Take care, this can’t be changed once the project has been created.
- Click New, a new project is created with containing an empty Scene. Either select the existing scene or create a new one and click Open.
To create a new project from the main menu
- Click on the Main Menu and go to Project > New.
- The New Project window will open, in the first field enter the name of your project.
- Click the … button to set a save location for your project.
- Choose the Scene Units to use for this project. Take care, this can’t be changed once the project has been created.
- Click New, a new project is created with containing an empty Scene. Either select the existing scene or create a new one and click Open.
Saving Projects
To save the current project:
- Click on the Main Menu and go to Project > Save, or use the keyboard shortcut Ctrl + S.
To save the current project with a different filename.
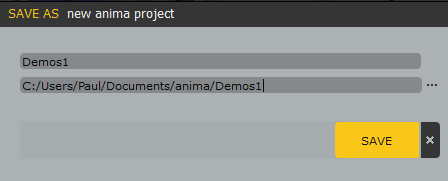
- Click on the Main Menu and go to Project > Save as
- From the Save As window, choose a new name a save destination. This will create a new Project with the same settings, scenes and assets as the original.
Importing and Exporting Projects
You can create a Zip file from the current project using the Export function. This packages all the scenes, files, settings and assets in a format that’s easy to archive, move from computer to computer or share with friends and colleagues. To export a project:
- Open the Project you’d like to export using the procedures described above.
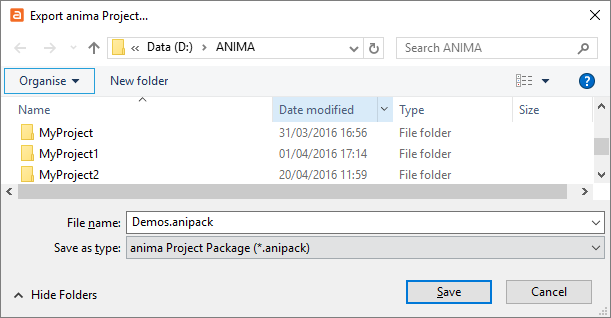
- Click on the Main Menu and go to Project > Export Pack.
- A file menu will open. Choose the file name and save destination for the project archive and click Save.
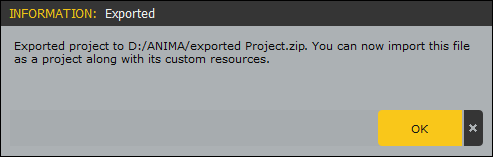
- You will receive a message to let you know the project has been successfully exported, click OK.
To import an archived project:
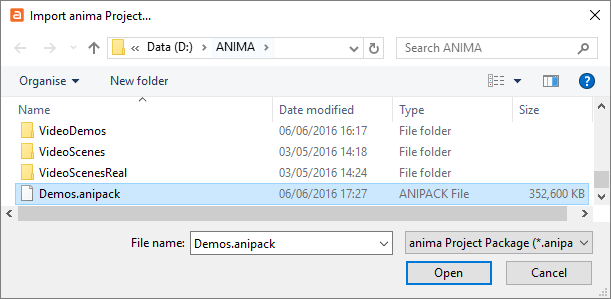
- Click on the Main Menu and go to Project > Import.
- A file picker will open, select an exported project and click Open.
- The archive will be unpacked and saved in Default Projects Path. This location is defined in Anima’s Preferences Menu.
Merging Projects
If you want to re-use resources or scenes saved in another project then you can easily merge them. To do this:
- Click on the Main Menu and go to Project > Merge.
- A file picker will open, select the Project (.aniproj) file that contains the resources you’d like to import and click Open.
- A Merge options window will open, use this to select whether you want to impor Actors, Clips, Scenes and/or templates.
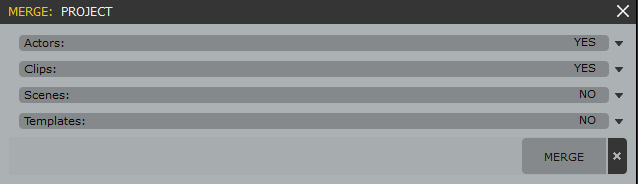
- Click Merge, if any files have the same title they’ll be automatically renamed.
See Scenes for information on how manage scene files.