Linking Props
NOTES: Import your Anima scene into 3DS Max. You may either create new objects in 3DS Max or import existing objects that you’ll want to link to your Anima characters.
To import your Anima scene please go to Using the Anima plugin for 3ds Max document.
After importing your Anima scene inside 3DSMax.
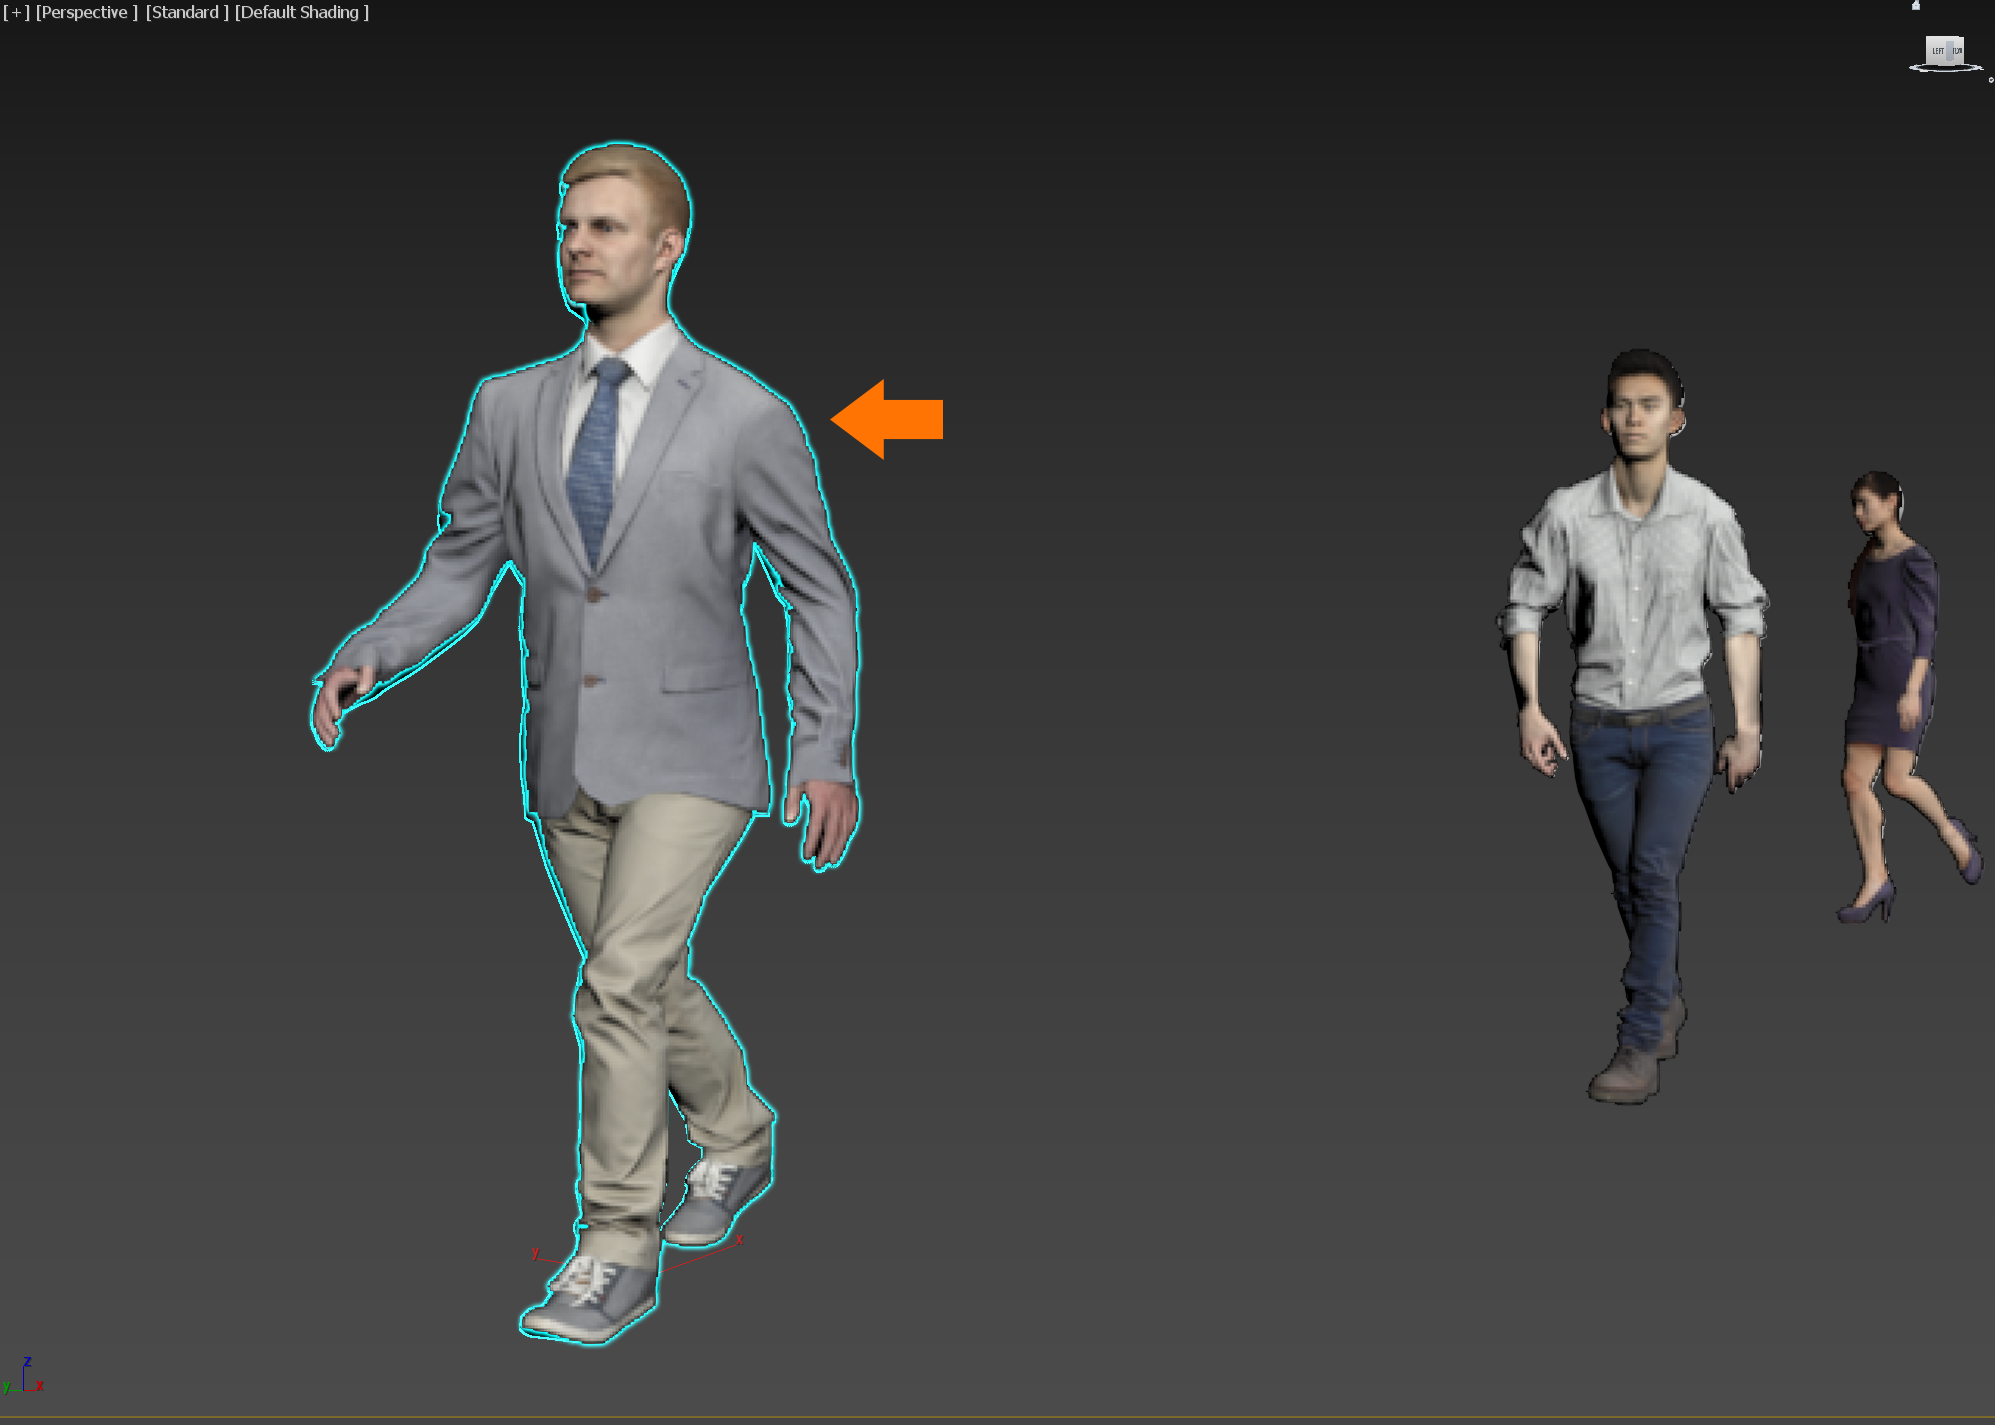
- Go to the viewport and select the actor that you want to use to link accessories or props.
- On the right panel click on modify tab.
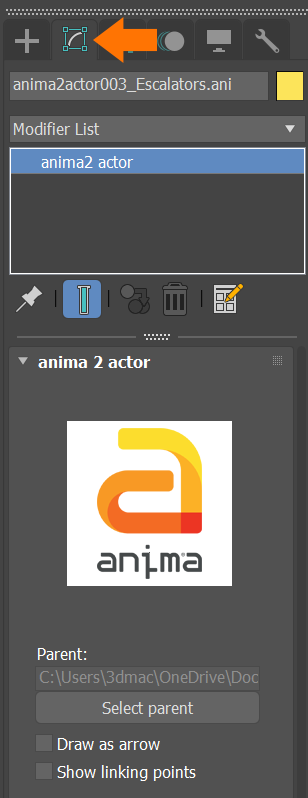
- At the bottom of the dialogue window, check the box corresponding to Show linking points.
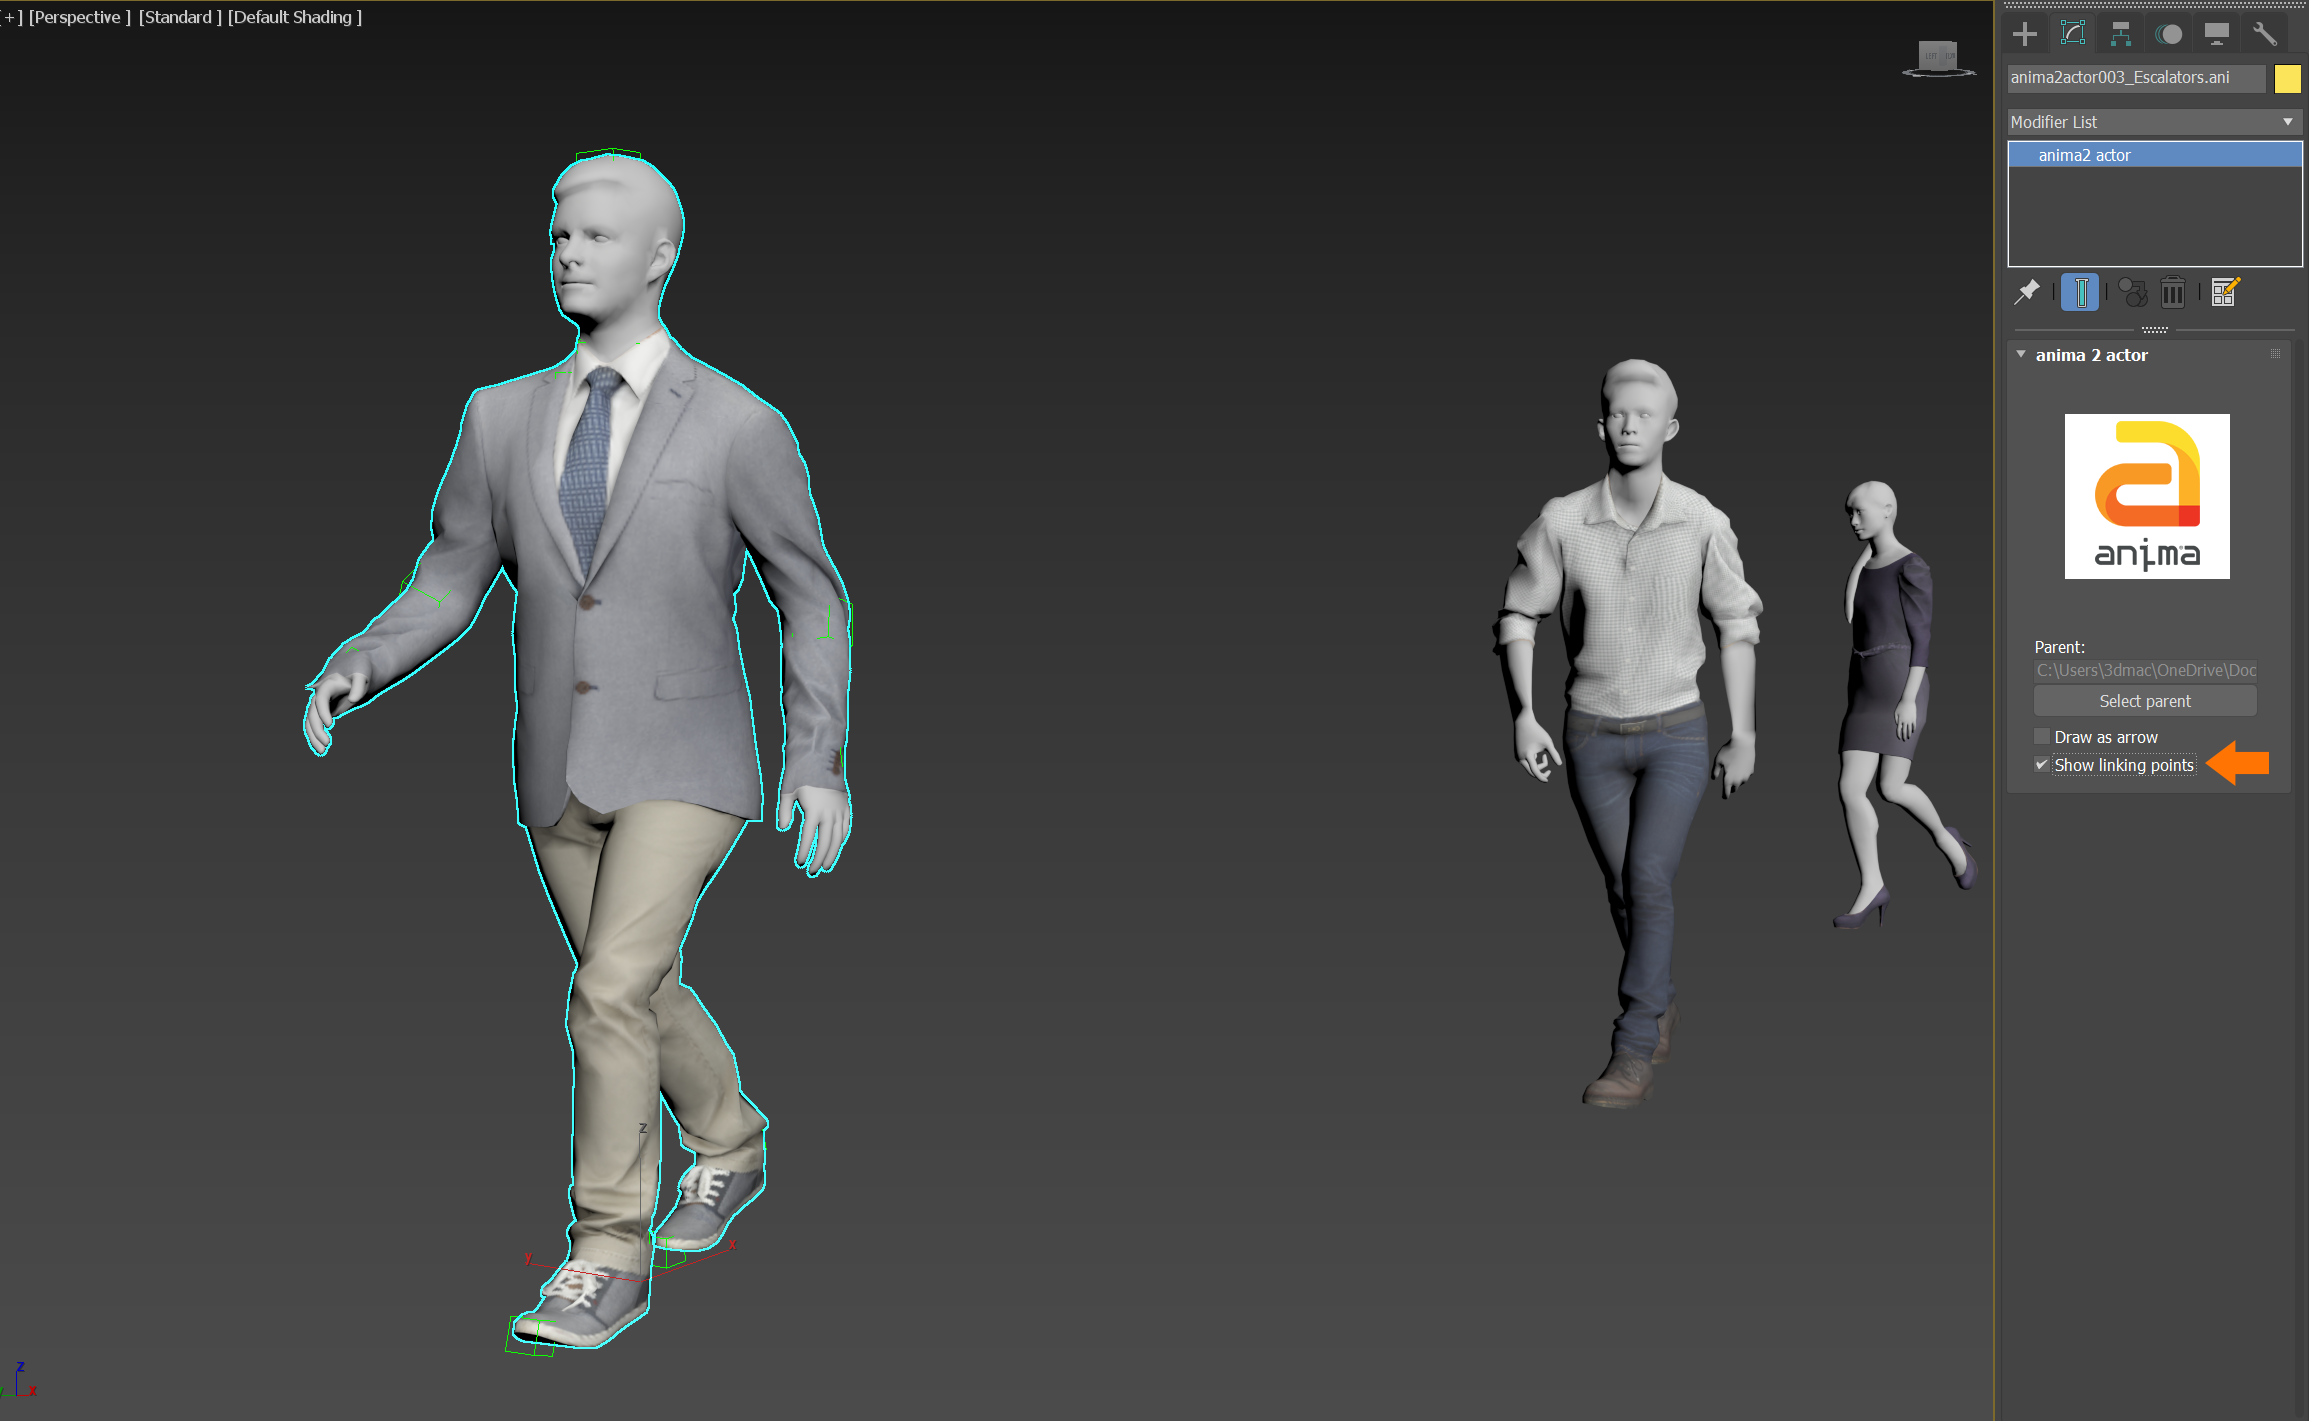
- In the 3DS Max viewport, in the upper left corner, click and change Default Shading to Bounding Box. This will allow you to better visualize the controllers represented by green helper dummies.
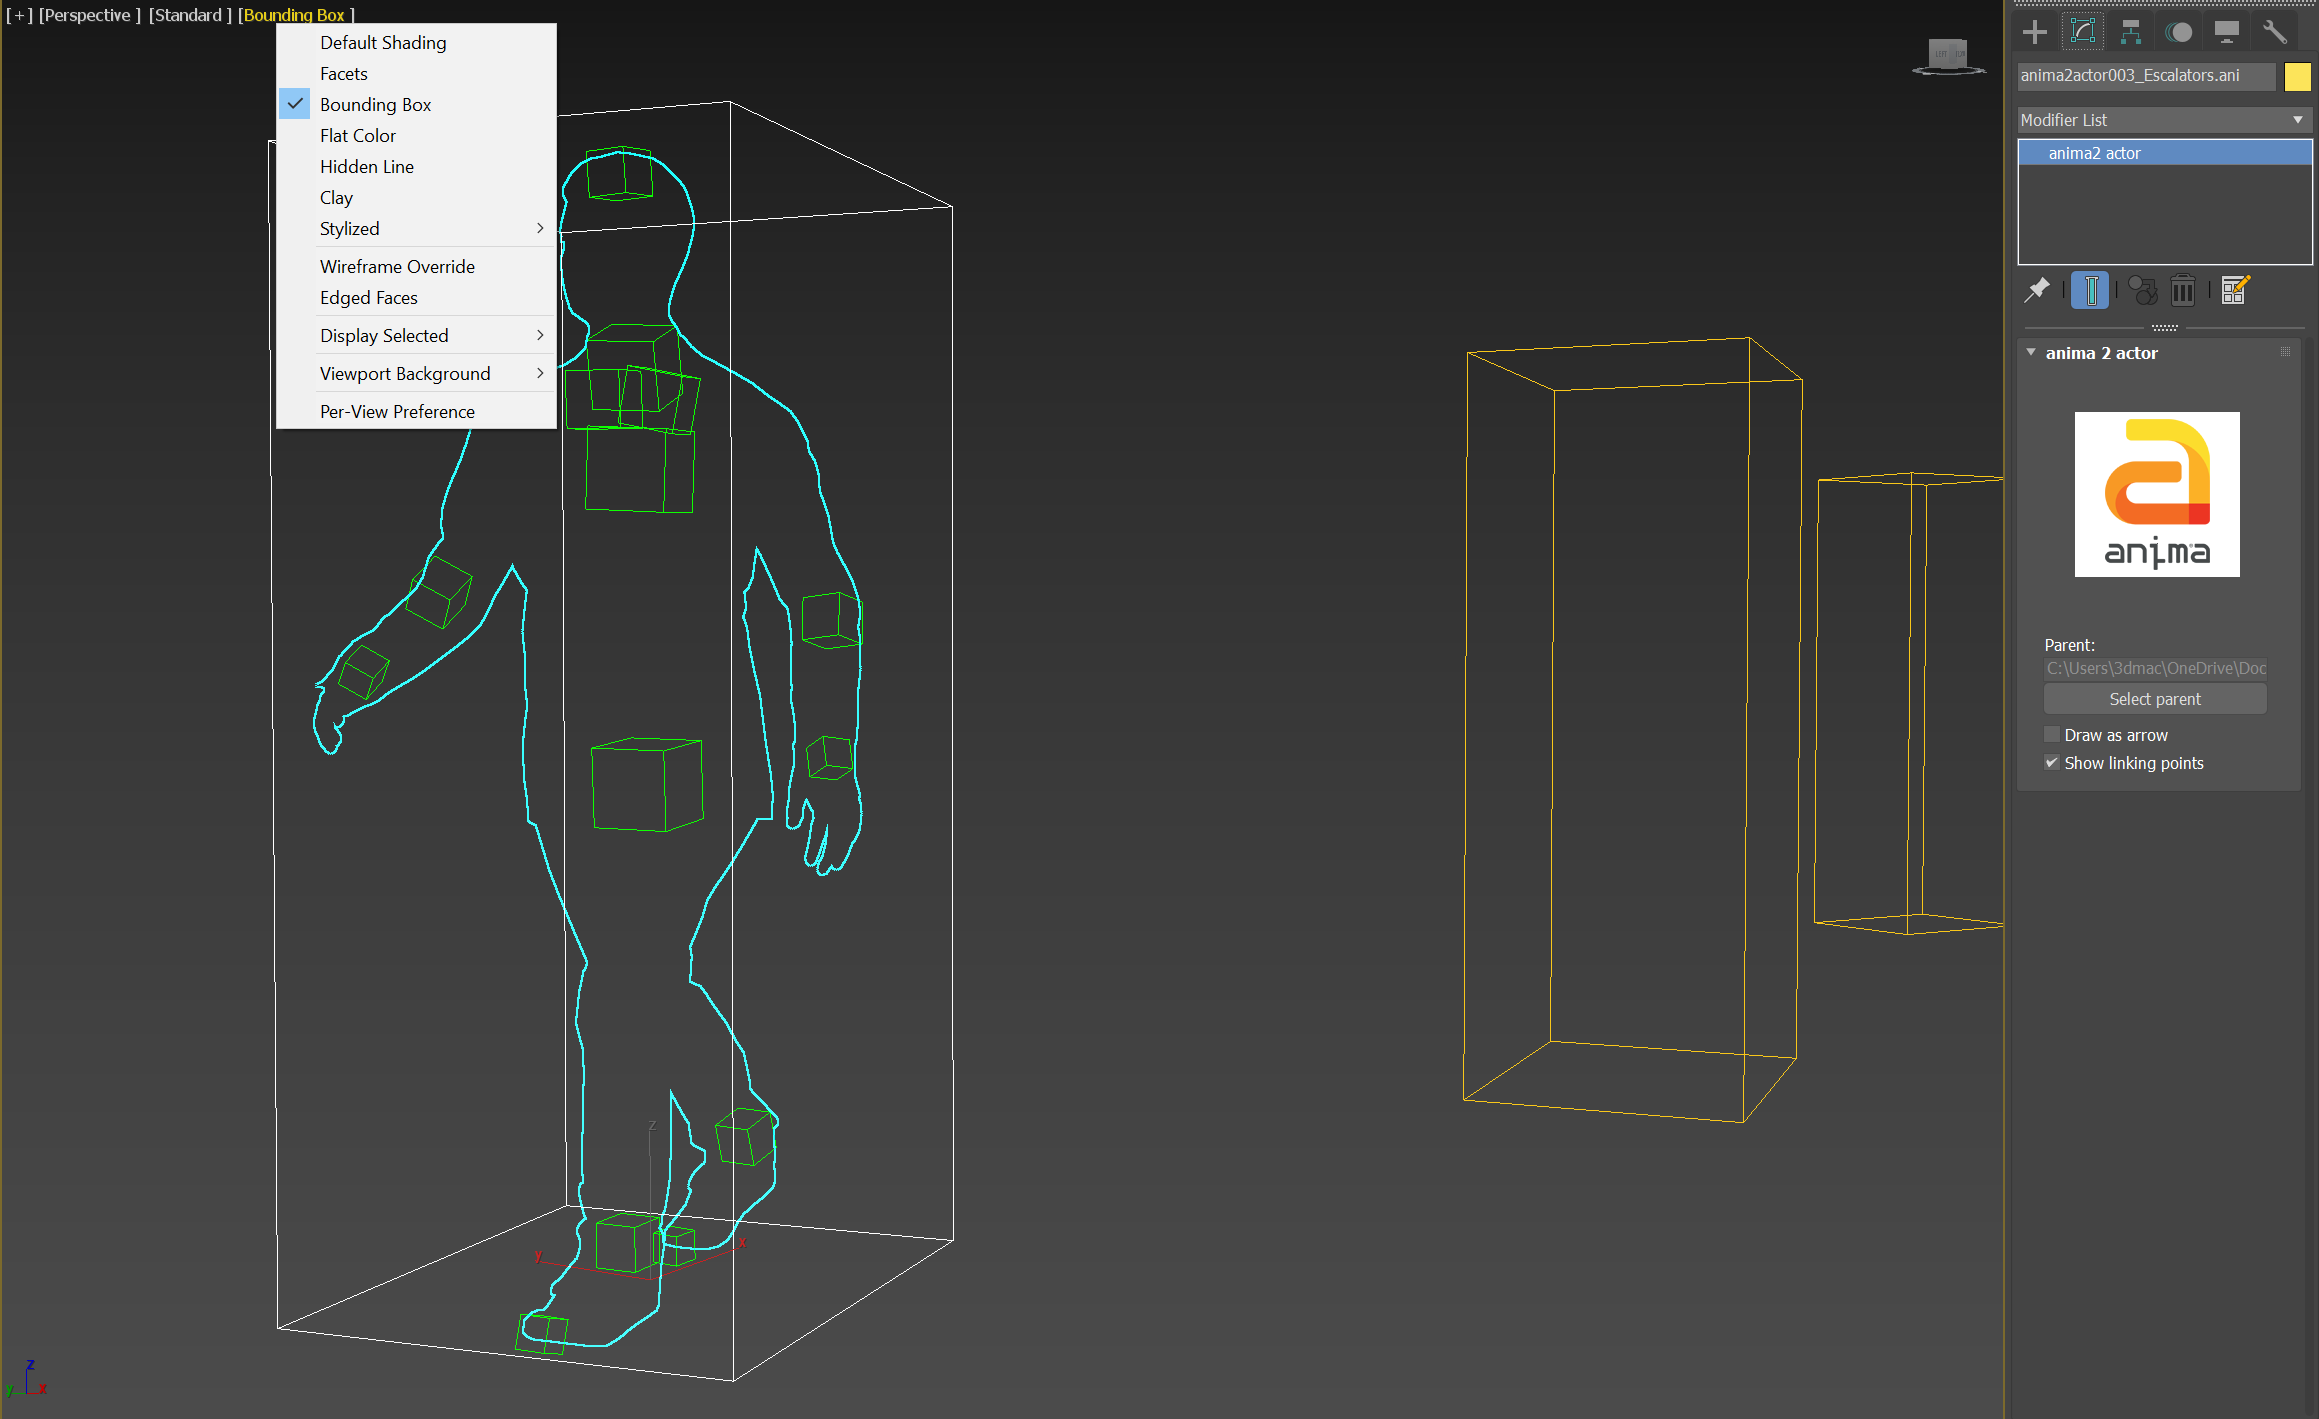
- Each character has fourteen helper dummies located at the most common joints like hips, chest, shoulders, neck, head, elbows, wrists, ankles and toes.
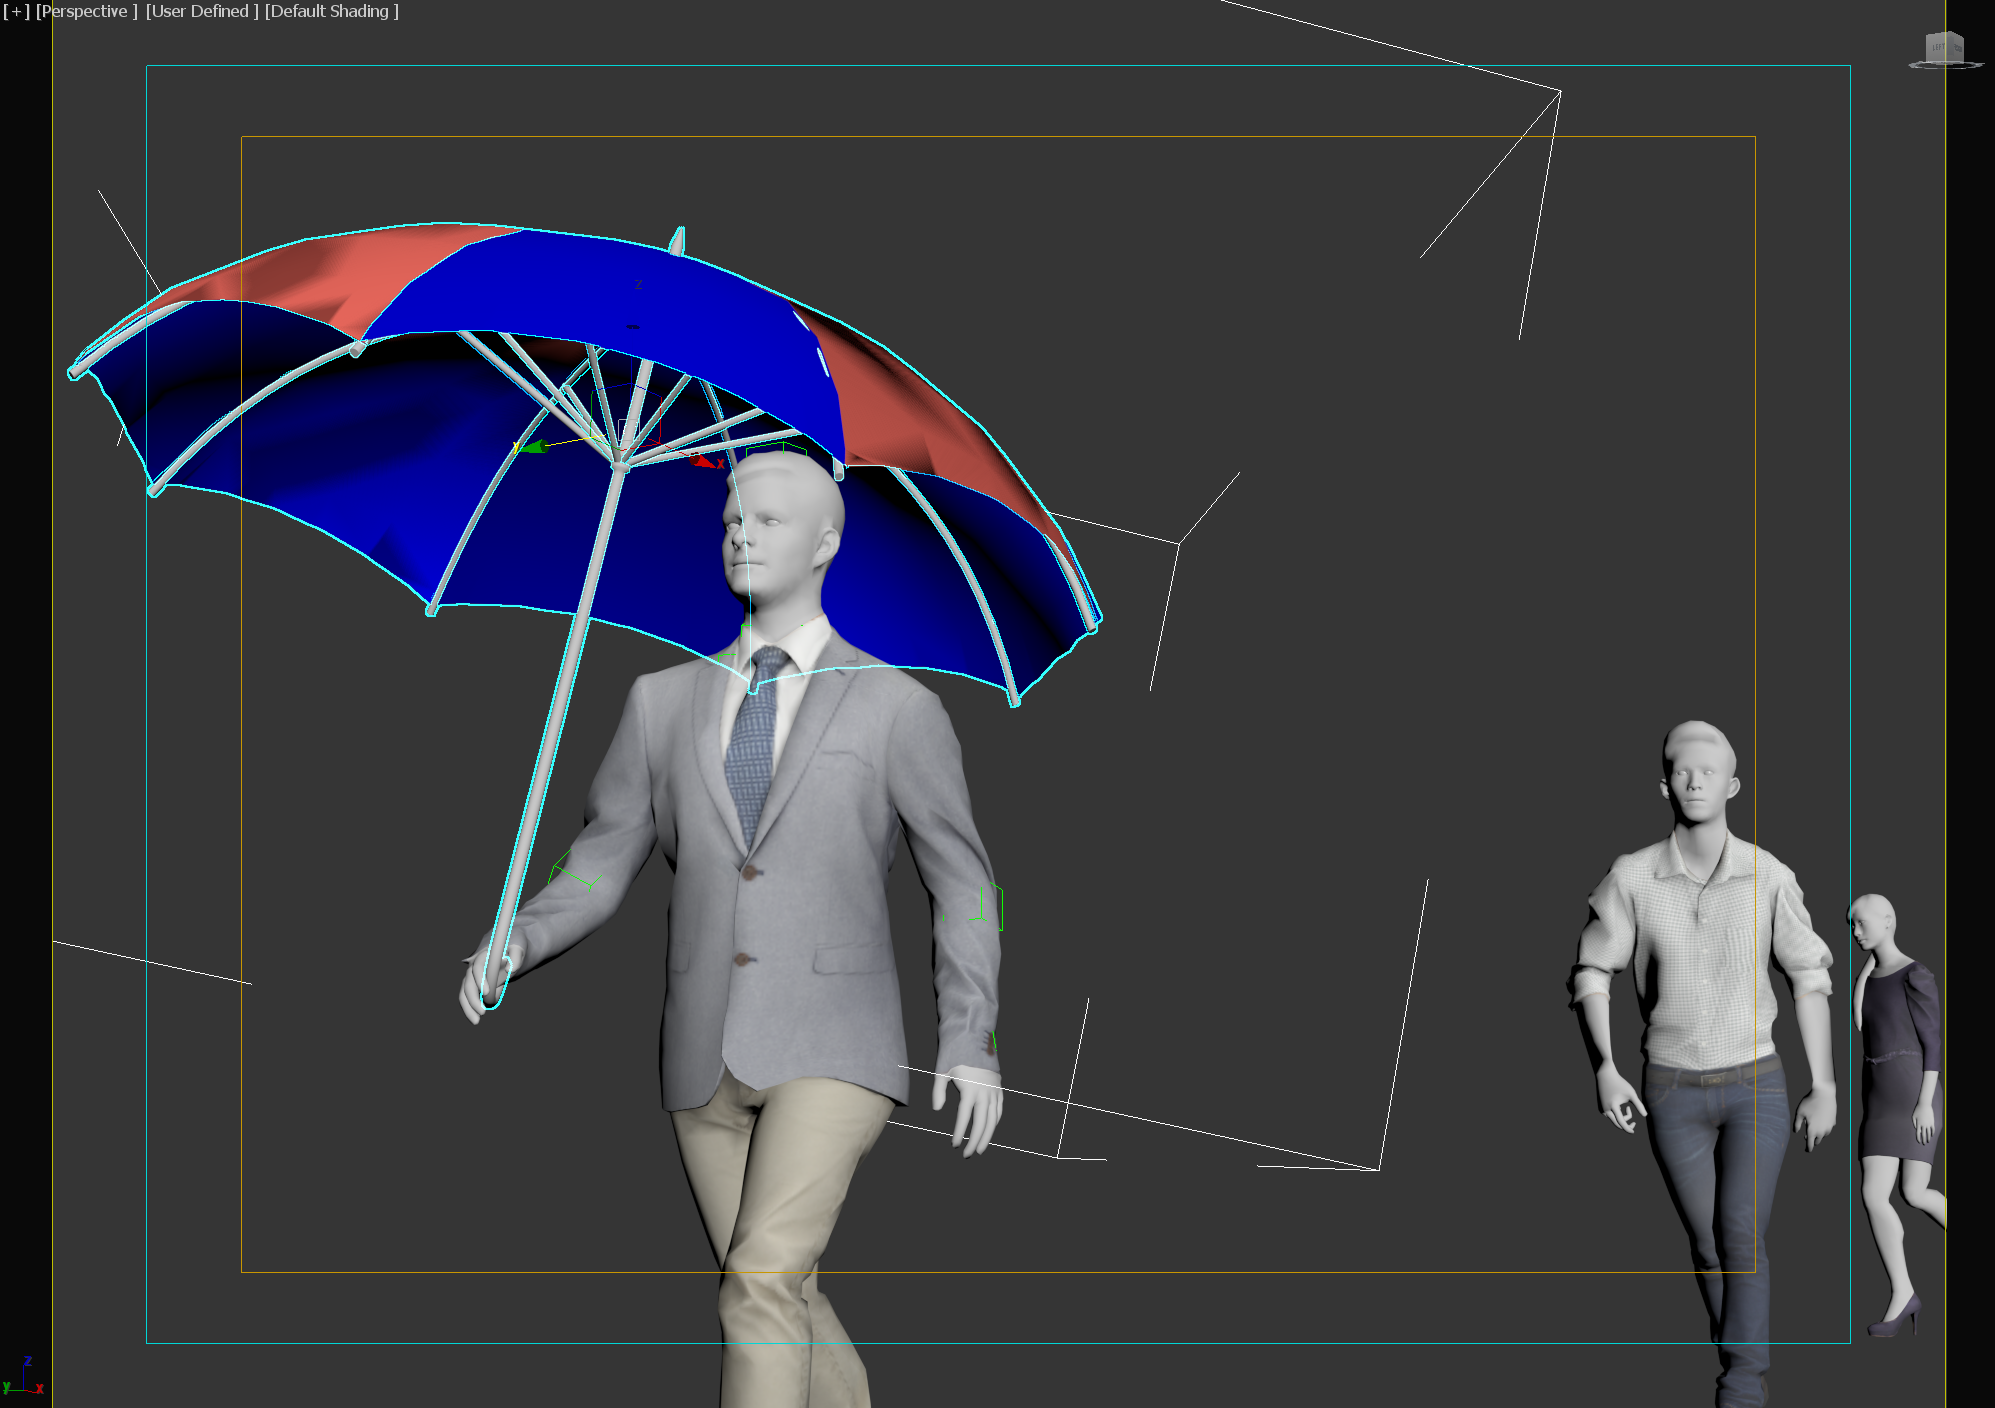
(You can link multiple objects to the same character or linking point.) - Select the 3d object that you want to link to the character and use click on the Align tool
 to match the position and rotation of the helper dummy. Then click on the helper dummy to align the two objects.
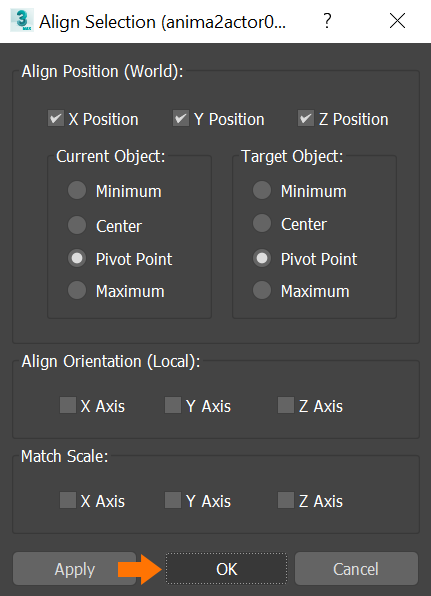
 - An align dialogue window will appear with several options to choose from. Align Position aligns the 3D objects in world space and Align Orientation aligns the rotation in local space. Select the options that best suit your needs and click OK to commit.
- Once the object is aligned, you can still make changes to the position, rotation and scale of the object. This will allow you to fine tune the placement and size of the 3D object depending on the situation.
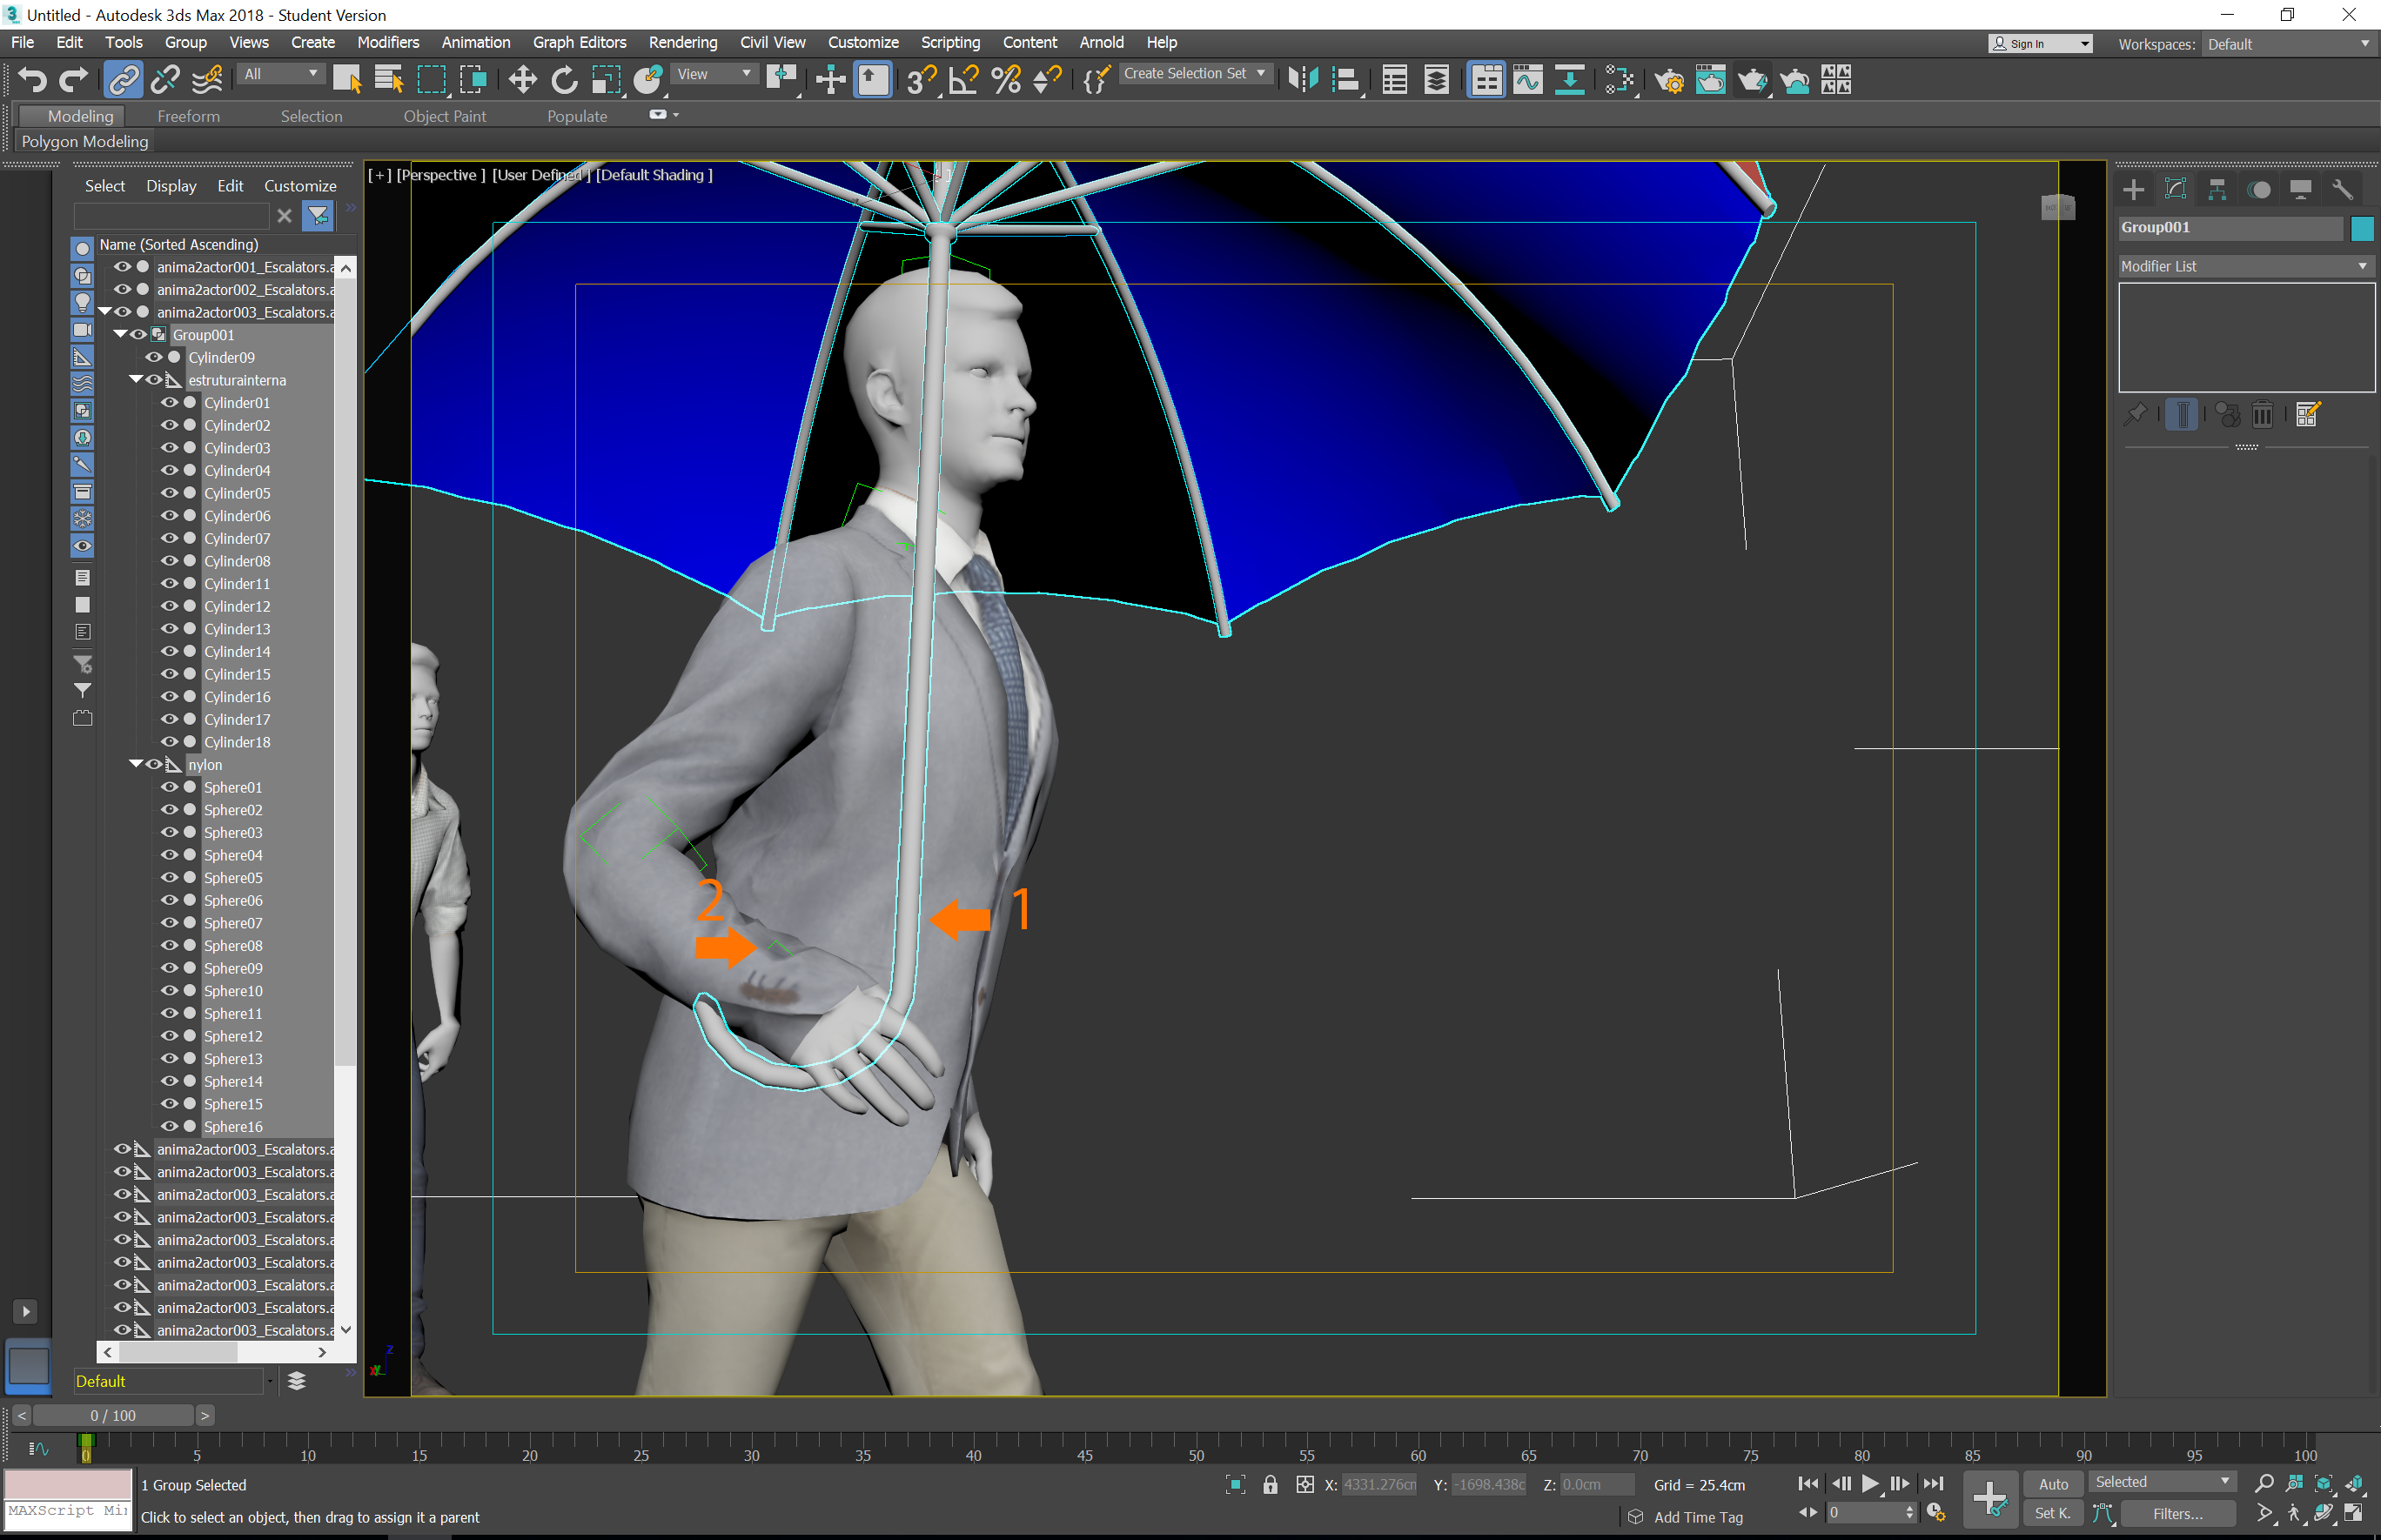
- Click on the Select and Link icon
 in the upper left corner of the 3DS Max window. Left click and hold on the 3D Object you want to link. While holding, you’ll see a dotted line between your cursor and the 3D Object. Continue holding and drag your cursor to the dummy helper you want to link to. Release the left mouse button while hovering over the helper dummy. The link is now complete.Alternatively you could use the Link Constraint in 3DS Max. The Link Constraint is a keyable constraint from the motion panel.
|
- Now your object is aligned and linked to that specific helper dummy and it will follow the character’s animation accordingly.
NOTE: you can link multiple objects to the same linking point or actor. And you can repeat the process on all the actors of your scene.