Linking Props
NOTES: Import your Anima scene, and also import or create the objects that you want to attach to the characters. To import your Anima scene please go to Using the Anima plugin for C4D document.
Use the following guide after importing your Anima scene into C4D.
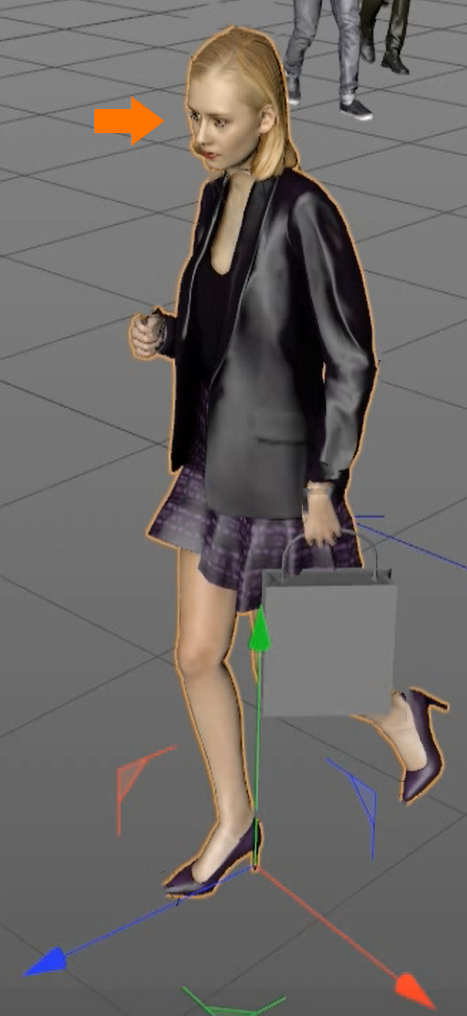
- Go to the viewport and select the actor that you want to use to attach accessories or props.
- On the right panel click on Object Properties and under Attribute tab.
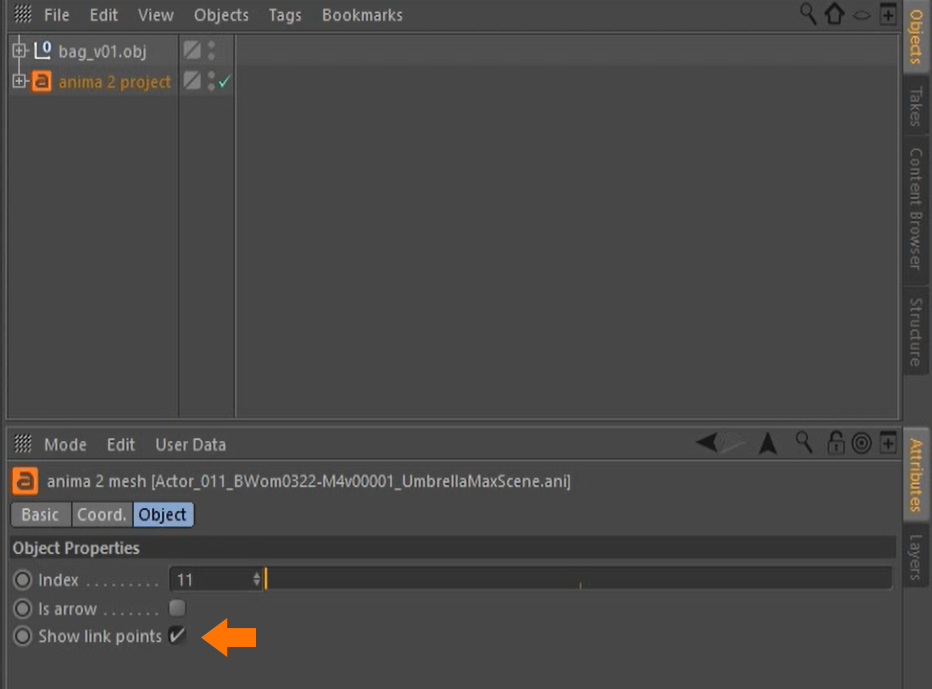
- At the end of the panel you will see a check box “Show linking point”, Click on the box to activate
- In the viewport you can change from “Gouraud Shading” to “Box” to visualize better the linking points represented by Black boxes.
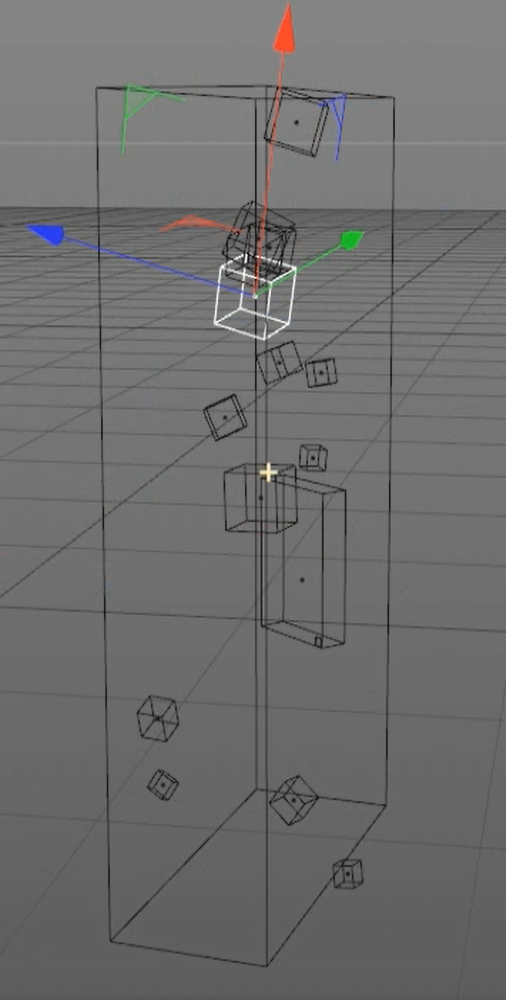
- Each character has 14 linking points located on the most common joints like hips, chest, shoulders, neck, head, elbows, wrists, ankles and toes.(You can attach multiple objects to the same character or linking point.)
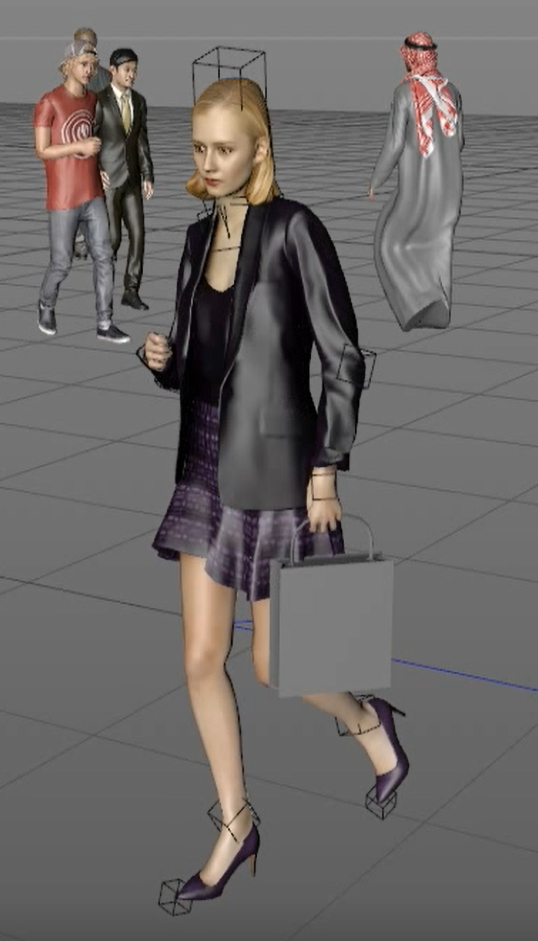
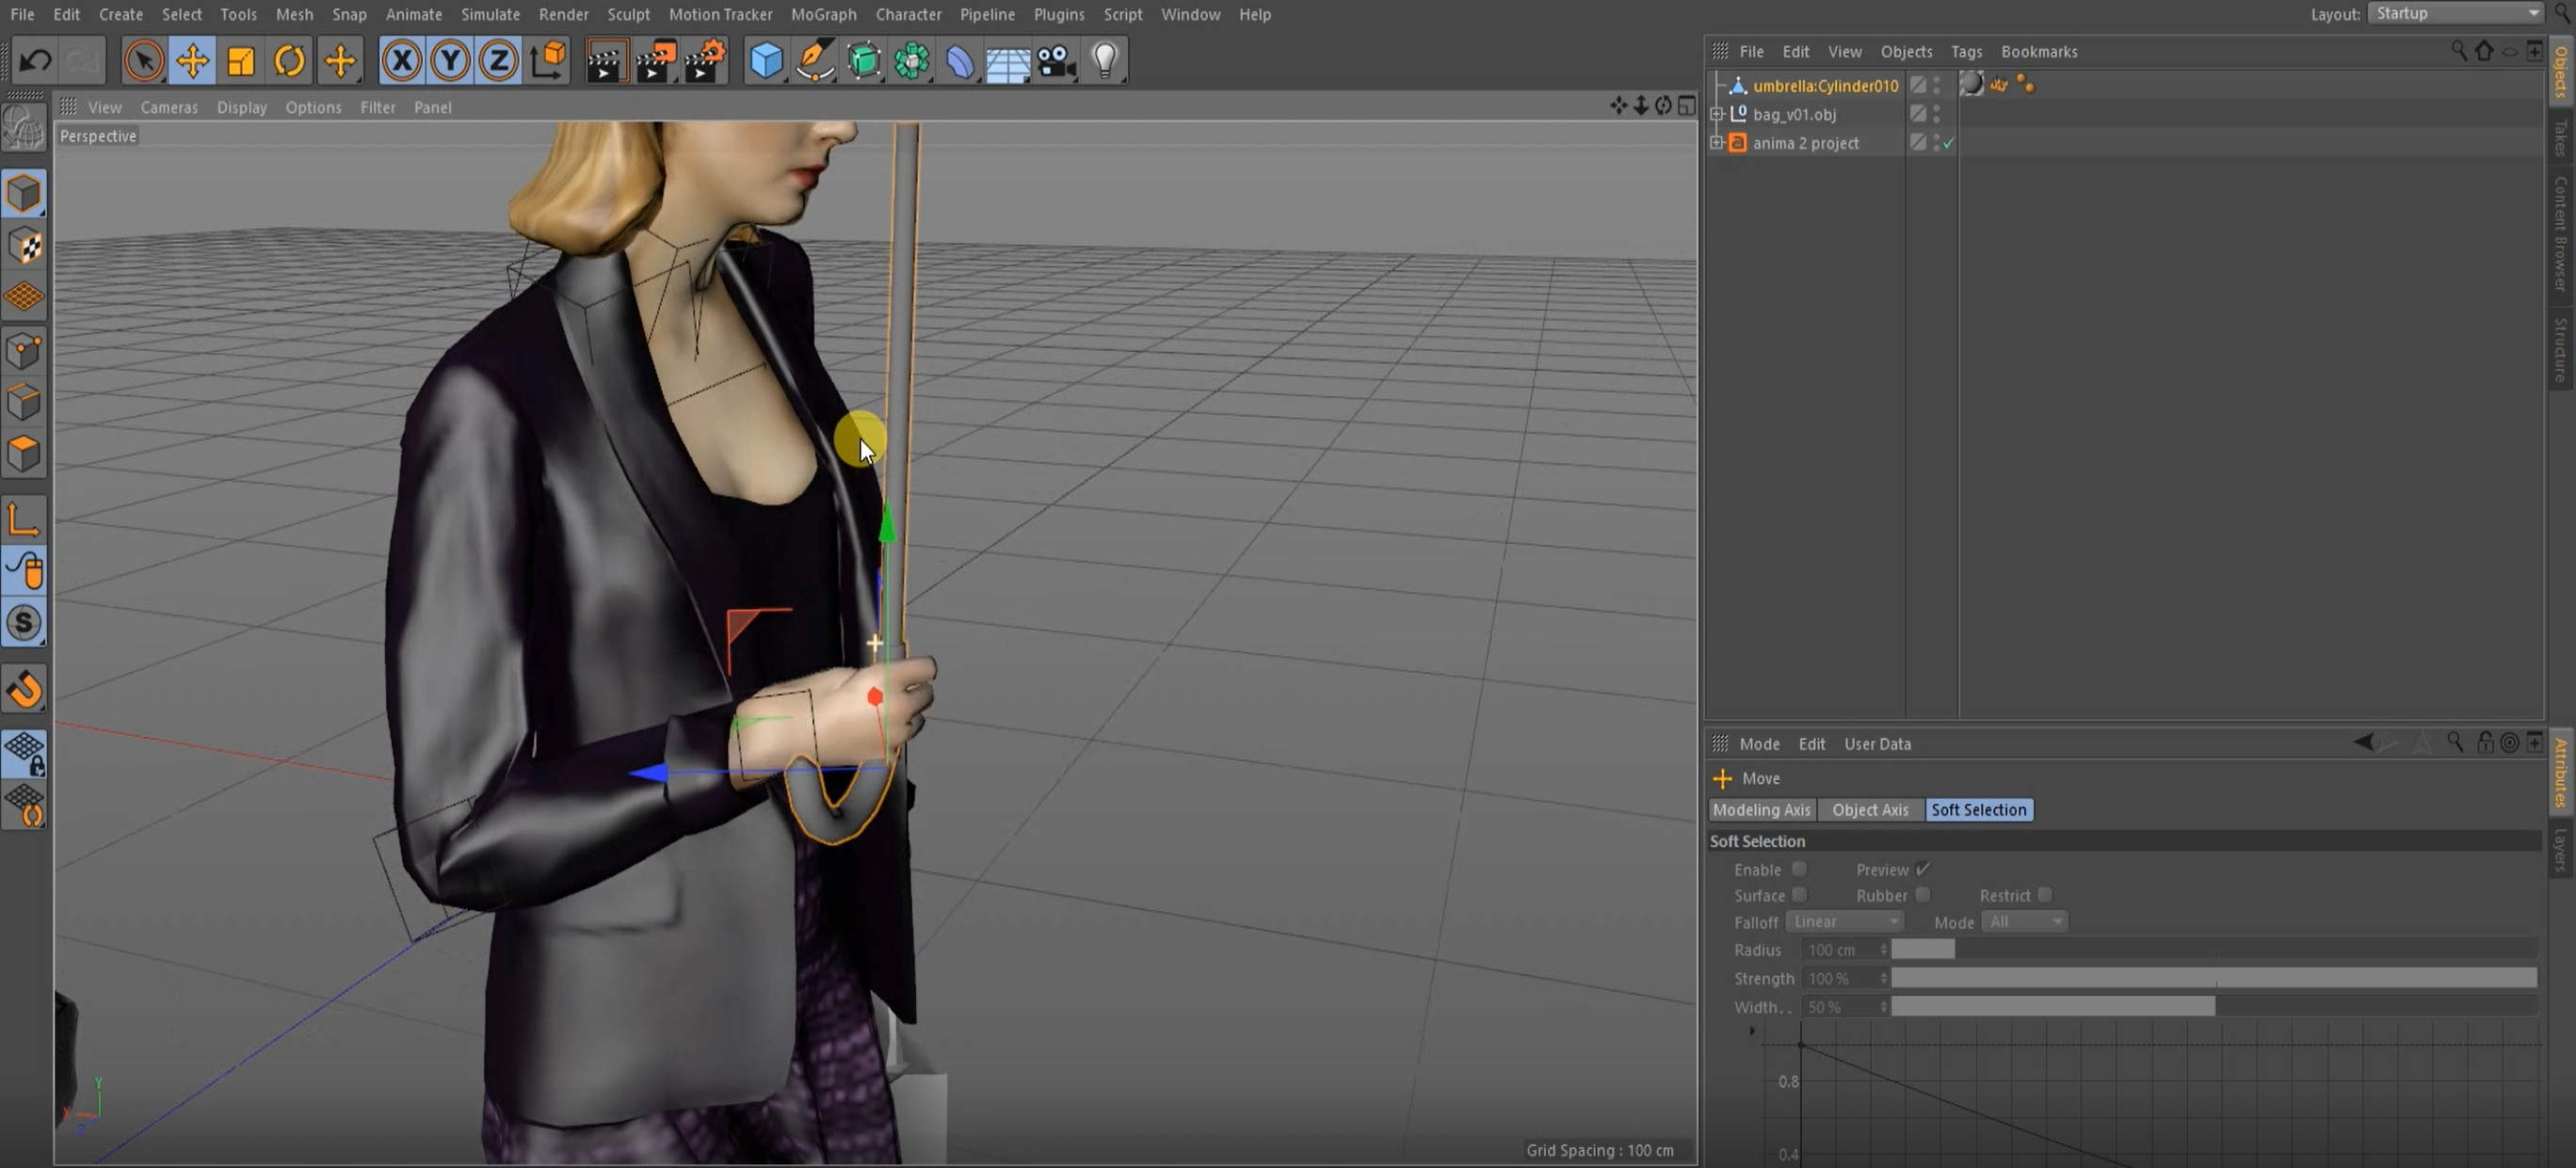
- Select the 3d object that you want to Attach to the character and place it on the spot that you desire.
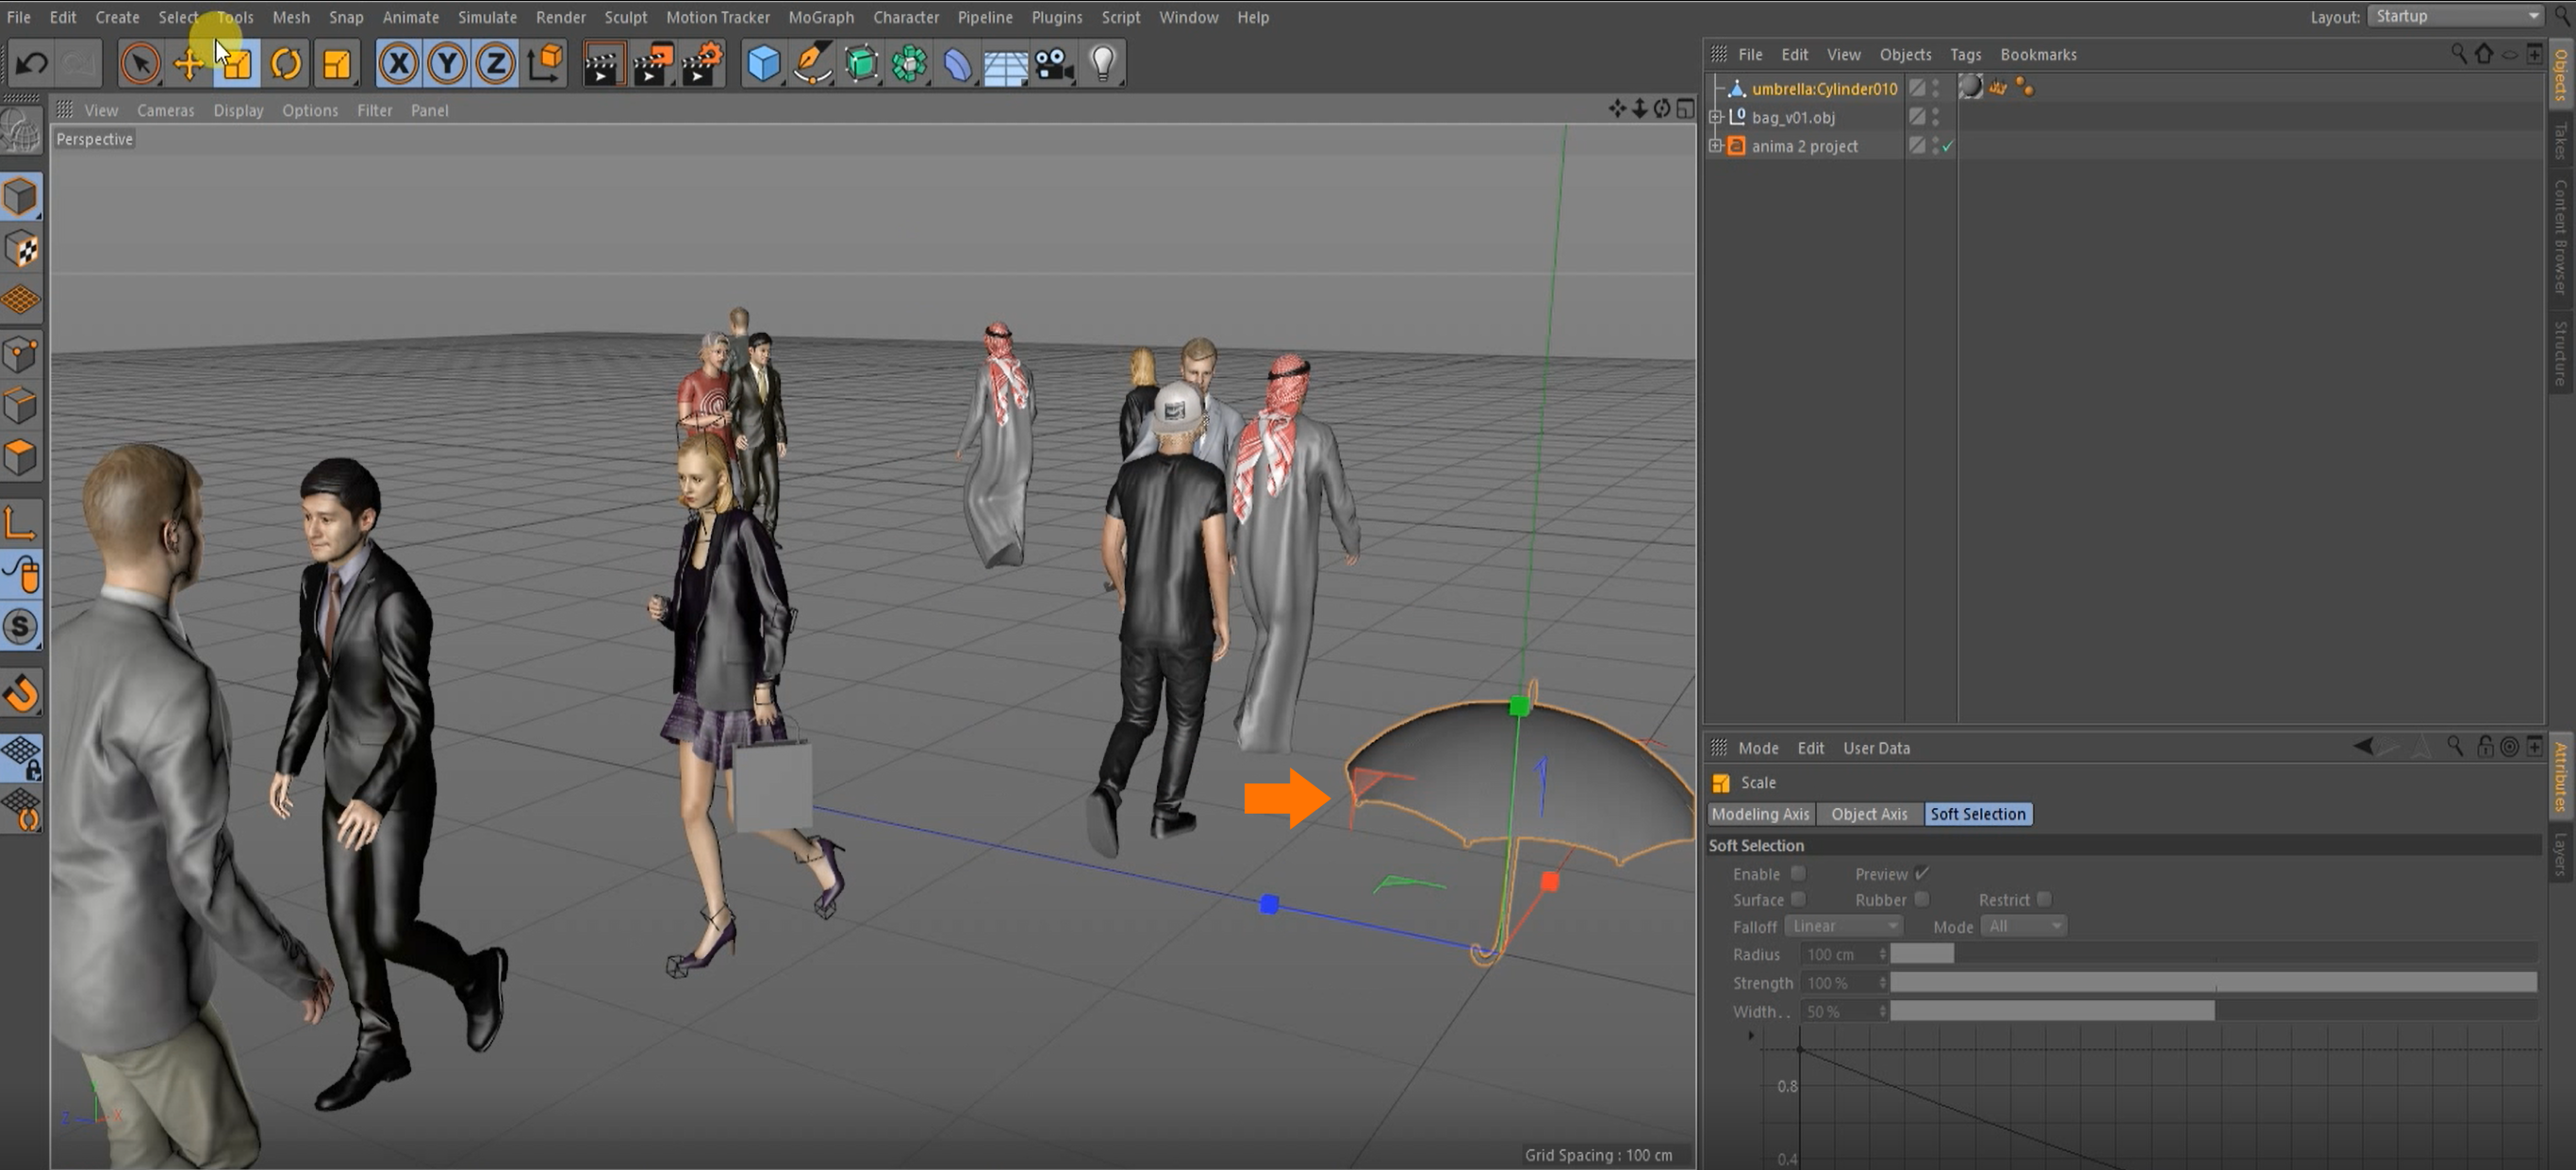
- You can adjust the position, rotation and scale of the object to obtain a perfect scale and placement.
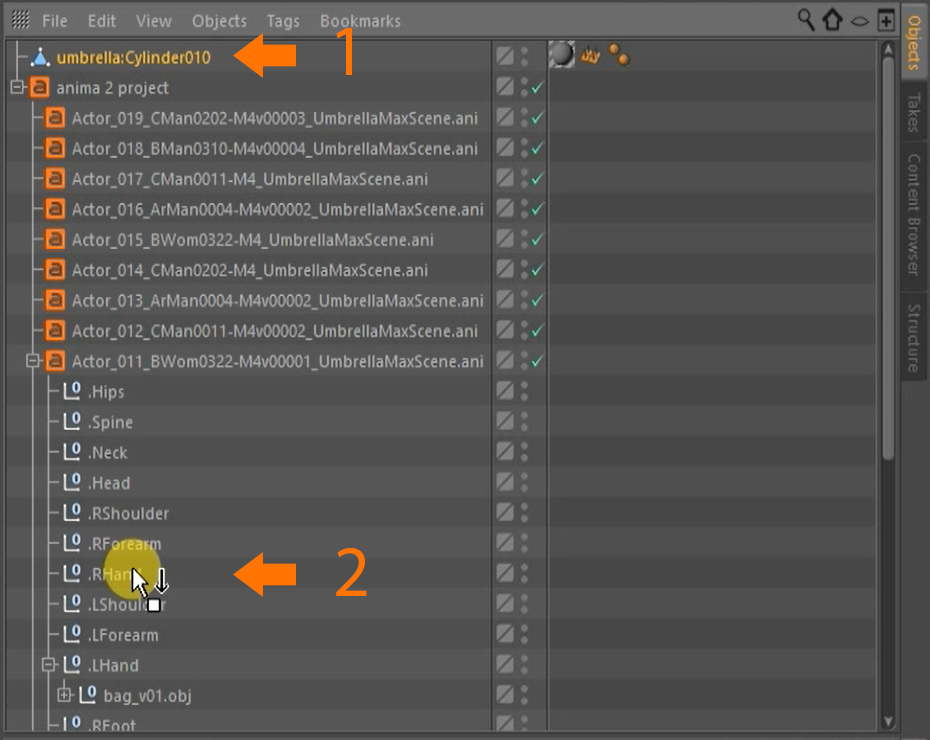
- Click on the 3d object and (under object properties) drag it on top of the linking point to complete the linking process.
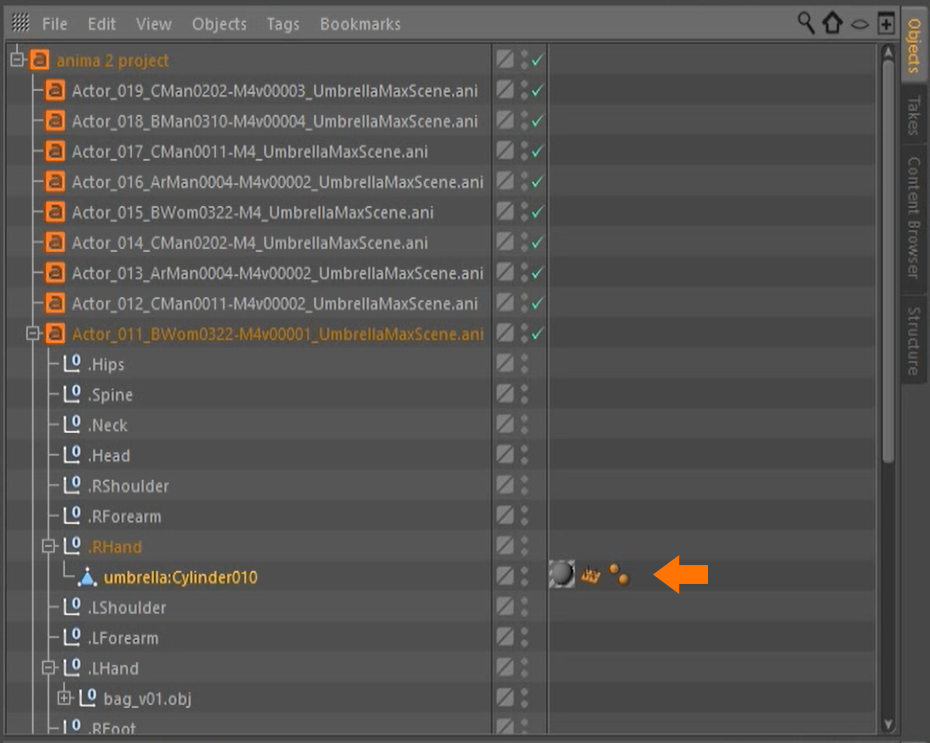
- Now your object is linked to that specific linking point and it will match the animation accordingly.
NOTE: you can link multiple objects to the same linking point or actor. And you can repeat the process on all the actors of your scene.